I keep thinking about it…..what if I lost everything to a fire? Or tornado. Hurricane. Flood. Leftist Democrat rioting looter. Whatever. I can only imagine the personal pain and distress. The loss of mementos, souvenirs, records, photos…. everything. (Especially those of little monetary value but constructed of wonderful memories and much better times.) What to do? Live the best one could under the circumstances I guess. Perhaps thankful for still having life with at least the possibility of recalling the pleasant memories of loved ones and those better times? After all, those treasures dwell within a still beating heart and a thinking mind in defiance of the other worldly losses. Difficult to imagine surviving such a horrific experience without some sort of steadfast faith for comfort and healing. Fortunately for those in need such is available 24/7 for only the cost of an open heart. God Bless and successfully guide them all though a journey of pain difficult to imagine.
Don’t know if I should have written the above or not (I am just now truly understanding how I have also been a victim and “conditioned” by a “political correctness” of the Left (through hideously surreptitious ways we don’t even notice day to day) to ignore and suppress any personal inclination to publicly acknowledge and/or praise anything associated with Christian faith, belief, much less red, white and blue patriotism for our wonderful country – despite serious issues which still require attention and correction. Quiet warm tears convinced me otherwise. There is only one perfection of which I am aware.
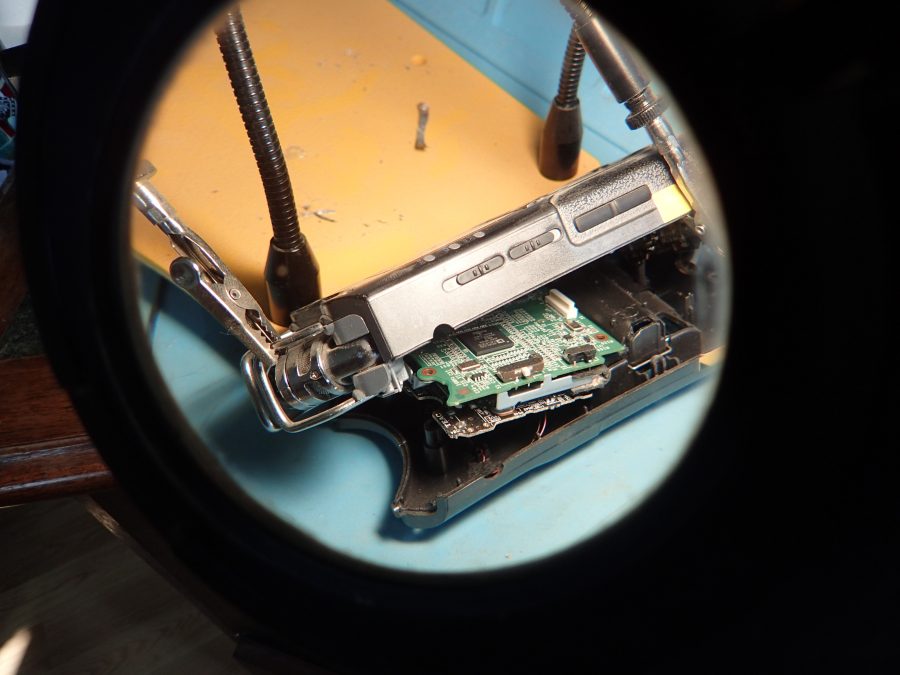
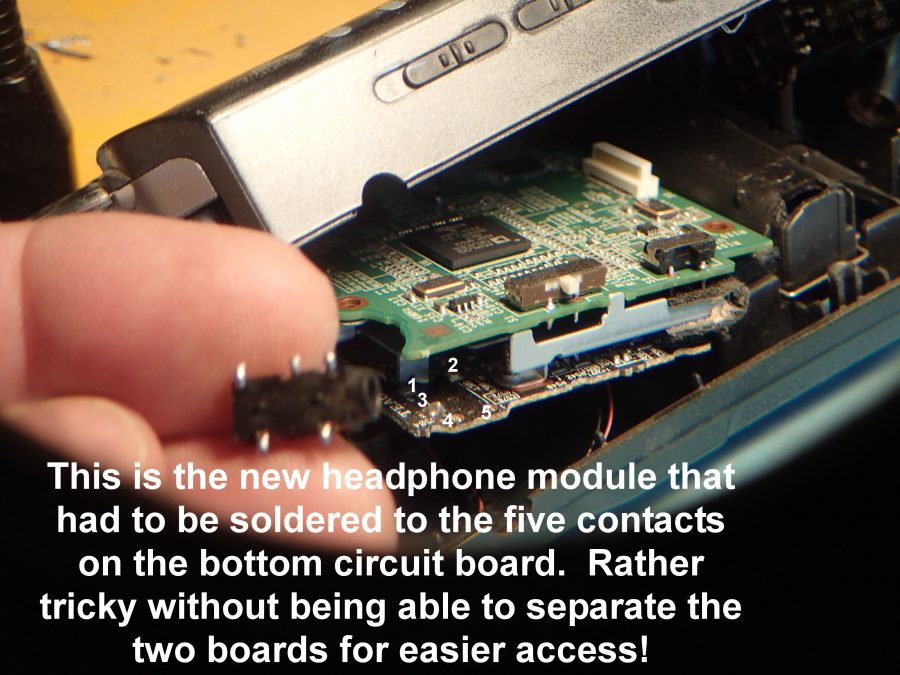
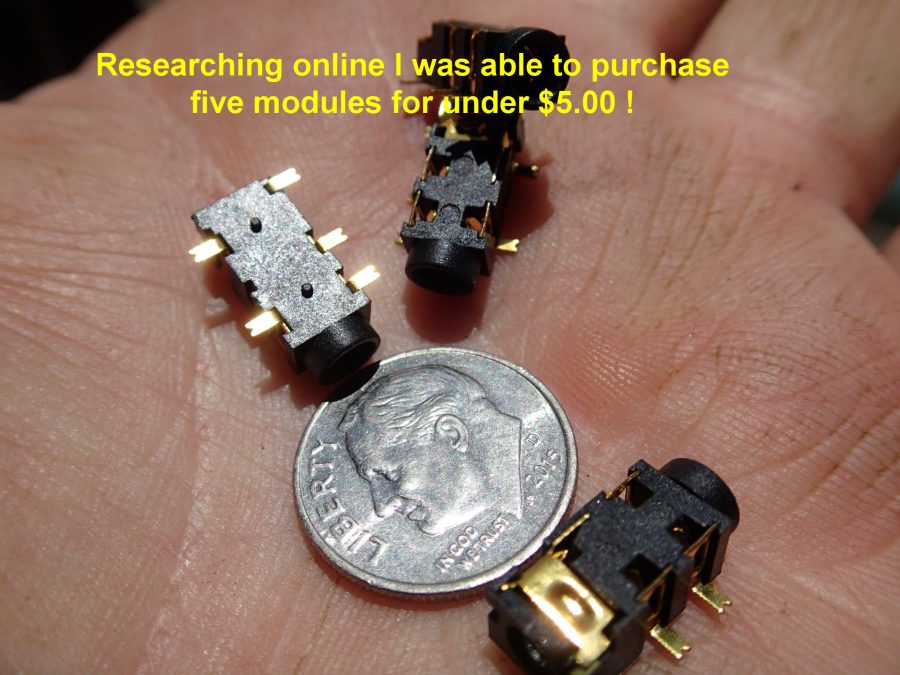
OK. With that said, (radically switching gears from spiritual sensitivity and compassion to a blah, blah, blah, blah presentation of yet another COVID-19 “lock down stay busy project”) – remember the two digital recorders whose usefulness I destroyed because of TWO SEPARATE ACCIDENTS where the earphone plug (while plugged into the unit) broke the head phone module from the circuit board inside the unit? Well, the time has finally come for an attempted repair, but first I need to explain another “wrinkle” to this Do It Yourself repair plan.
NEVER HAPPENED BEFORE
Have you ever performed a particular activity for many years without any difficulty what-so-ever then one day for some inexplicable reason the same maneuver results in a surprise and painful injury? Certainly nothing to actively and publicly complain about – especially when considering the tens of thousands of Californians dealing with fire and associated loss, this is just another blah, blah, blah about a stupid little accident. Just another reminder that as I (we) get older a little extra caution is appropriate (required) with everyday activities normally taken for granted.
Rather surprising that those lengthy fine print safety instructions that come with new appliances, tools, etc., which previously produced a typical laugh or two as to the ridiculousness of the noticed potential injury warning –
(while smugly thinking to ourselves as we read the pages of often obvious DOS and DON’TS …..“who could be that stupid or ignorant to get hurt or killed like that?”),
-now make more sense as I continue my slow slide into a new and expanding world of surprise geriatric injuries.
Made up example: “HAND GRIP ON LOOPED DOOR HANDLE MUST BE RELEASED PRIOR TO WALKING AWAY FROM DOOR TO AVOID POTENTIAL INJURY”
LOL –
what sort of idiot would….
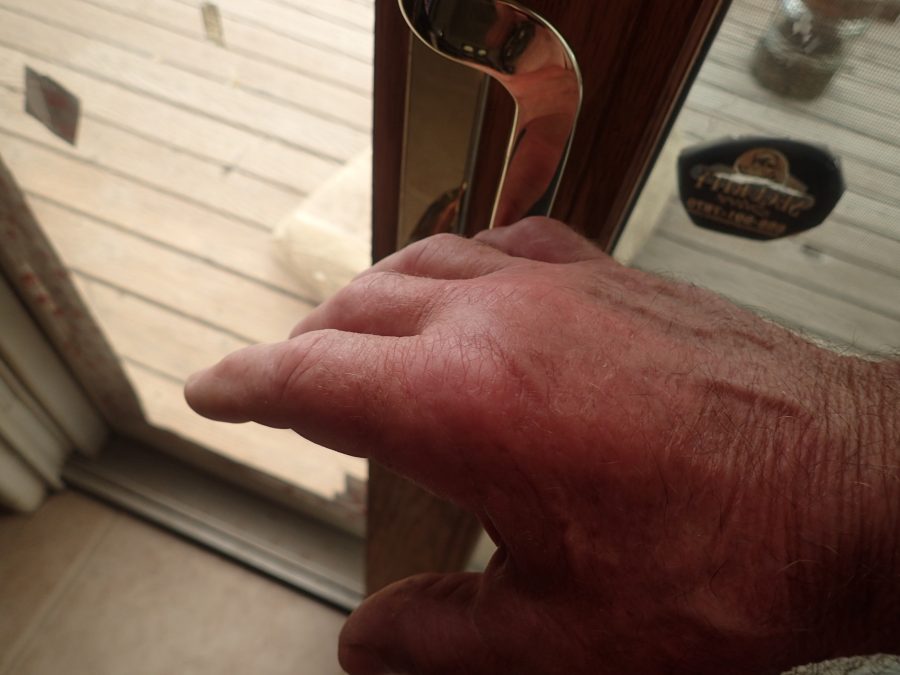
Yup, for approximately twelve (12) years now I have opened and closed that great room 8’ glass slider without any difficulty but last week when going outside to check on the hens during this excessive heat wave I slid the door open with my right hand (using the looped metal handle as usual) but this time while exiting through the doorway and simultaneously turning and pulling that somewhat heavy door back to its closed position, something different happened.
Apparently my “exit timing” was off a little bit and while turning and beginning my walk away from the door my index finger somehow became twisted and stuck in the handle. Since that heavy door was already in motion from my pulling it closed, when my finger met the maximum normal extension the weight and continuing closing motion of that sliding door caused my finger to bend backward and outward sideways far beyond normal movement.
Good Heavens that hurt! Naturally there was rapid swelling accompanied with redness and some later light bruising. I don’t recall any “snap” or “pop”, or any noise at the time of injury, just the sensation of something inside reaching its limits and being stressed, perhaps torn, beyond typical movement.
After a few choice words regarding my absolute failure for safely navigating through a sliding glass doorway I immediately started one of the best home first aid remedies available – an ice pack. Icing for days now (alternating with warmth) and beginning to see improvement. “Fantastic! The old age wrinkles are returning to my swollen hand around the index knuckle!” Before last week never imagined I’d be thinking something like that – happy that hand wrinkles have returned? lol What the heck, I earned them so I’ll proudly wear them – just like silver thinning hair, skin tags, old age spots, ….. wait, this is getting depressing besides digressing from the topic. (Yet another aspect to this getting older.) lol
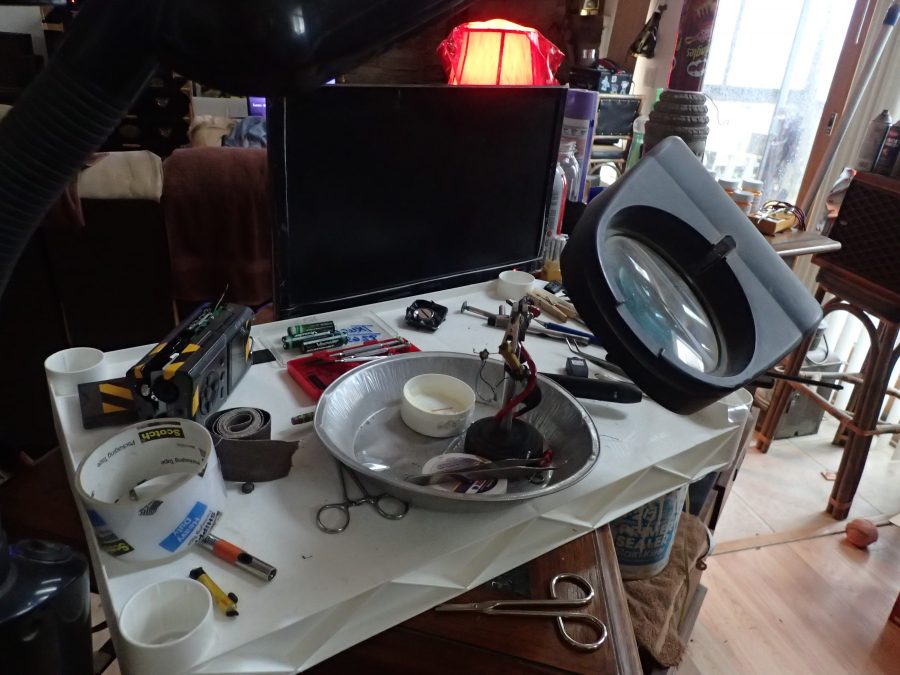
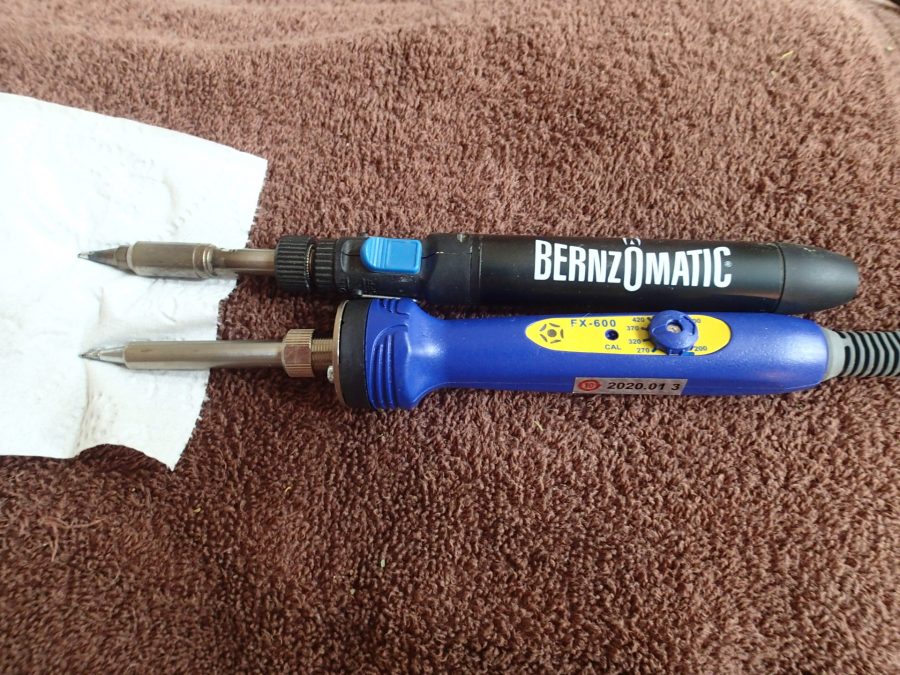
Anyway, recall that I’ve been waiting (since April 2nd) for a new soldering iron so I could attempt circuit board repair of the earphone jack on the TWO DIGITAL RECORDERS I DAMAGED? [April 1st was the fitting day for the LAME COVID-19 REV blah, blah, blah that explained these recorder mishaps.]
Guess what I just recently received? Yes indeed, a new soldering iron with the appropriately sized tip for the circuit board work BUT now I have a sore right hand (with returning wrinkles) making it rather difficult to hold the soldering iron properly. Always one thing or another yeah? Lol
Ohhhh Ohhhh Ohhhh…. Just realized, I have a reasonable excuse if the repair job turns out unsatisfactory!
Yup, ordered the soldering iron last April 2nd but had to reorder (lost in shipment) but a few days ago received it so here we go!
BELOW: FORGOT TO MENTION:
(See above photo for contact location numbers) Contacts 1 and 3 were not easy either, but contact 2 was a nightmare. I was worried about damaging the circuit board (and/or attached components) above with too much heat while trying to position and “tack” the module into place. Very tight working area.
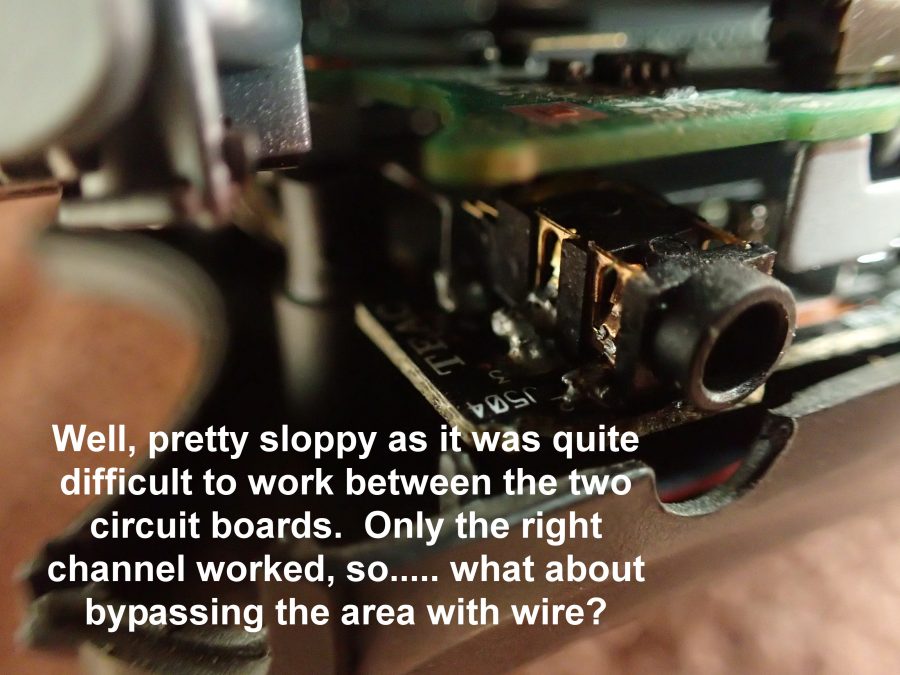
BELOW: OOPS! Almost forgot my other excuse for such a poor job …… my right hand was swollen and painful….lol
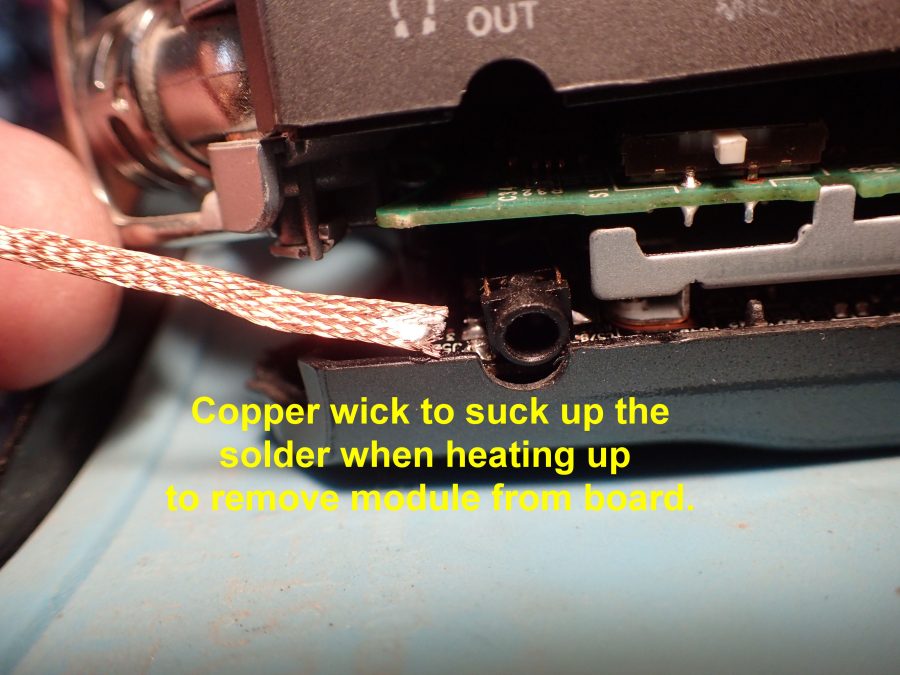
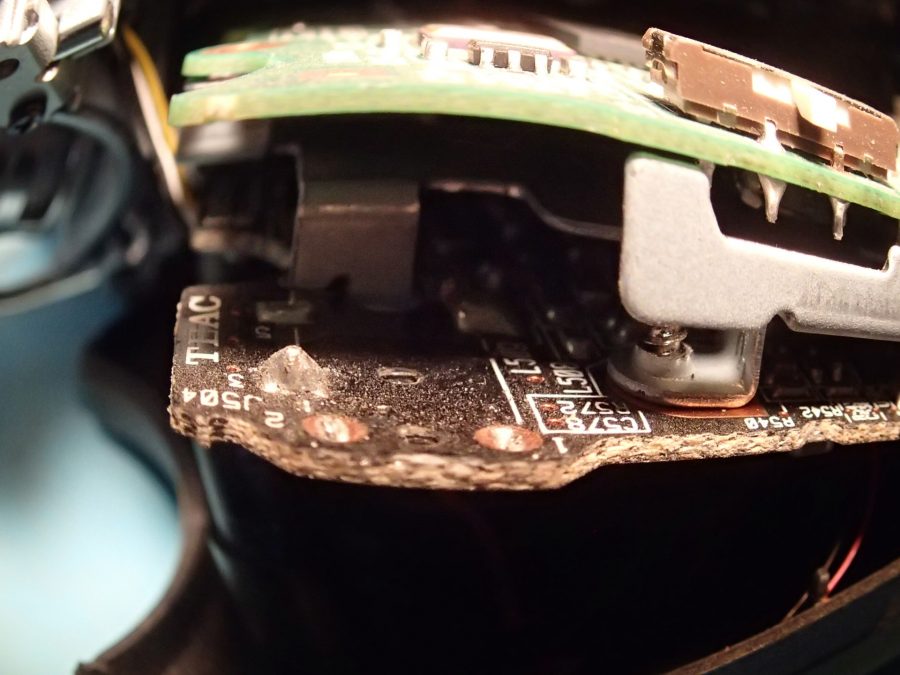
<ABOVE> Notice the difference after the “solder wick” procedure? Only two “globs” of old solder left to remove. Really neat stuff that copper braid. (Previously just heated up the solder and attempted to move it with the iron which often resulted in dropped hot solder in places you didn’t want it!) Watching videos on the internet taught me much in preparation for this DIY repair.
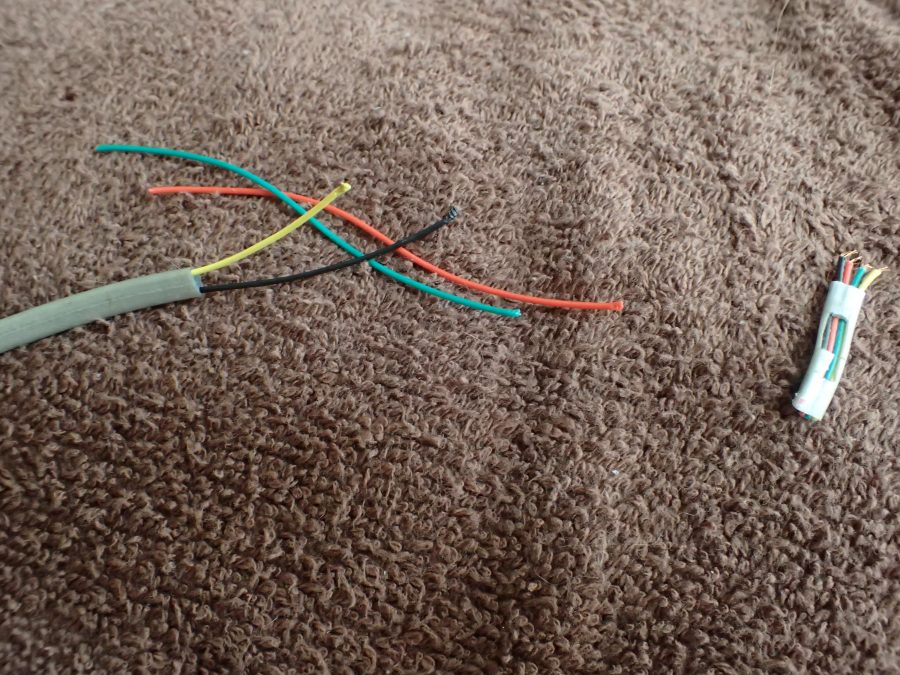
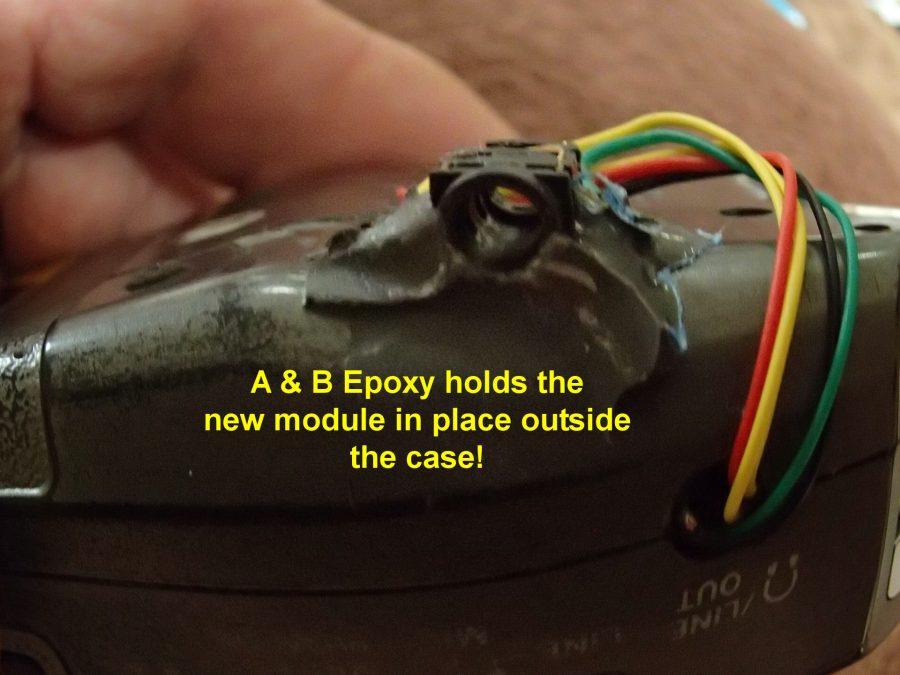
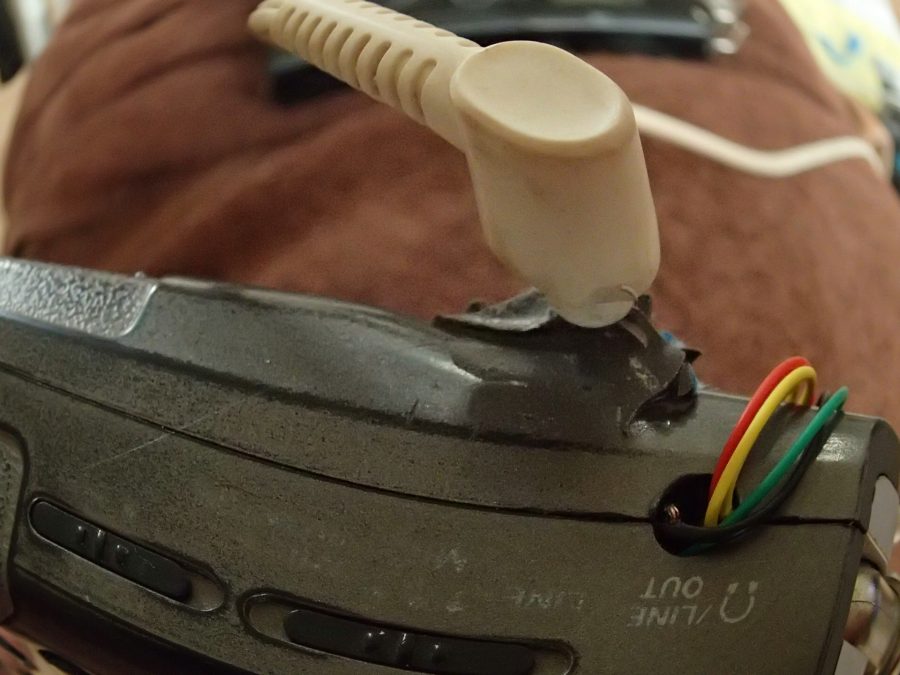
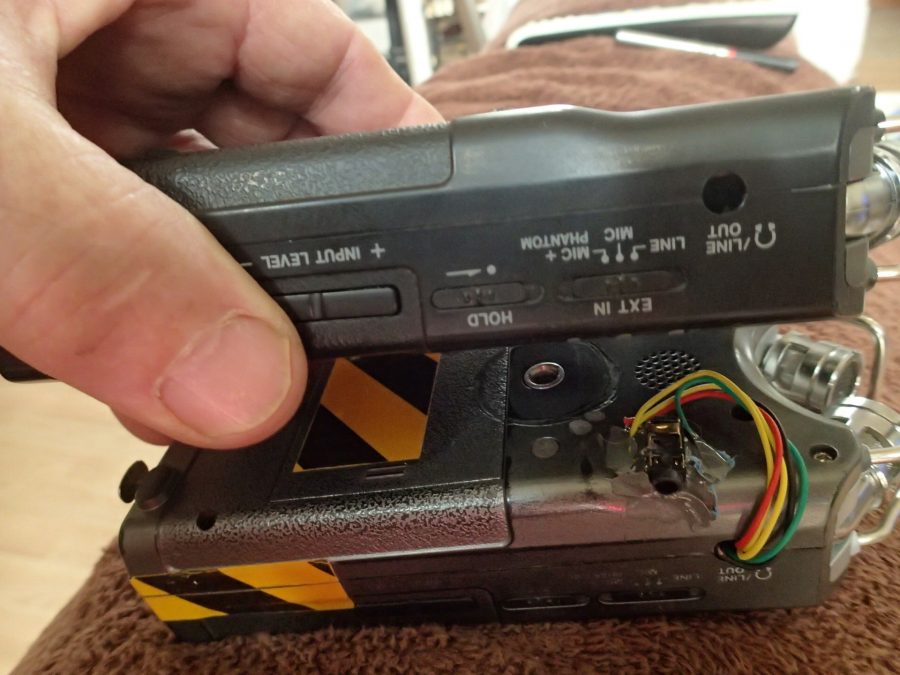
(The successfully repaired unit compared with the next “damaged patient” (top) awaiting the fate of my pathetic soldering skills….. unless I get the courage to separate the case and the two circuit boards for easier access and soldering…….but then again, what if I break something else in the process of that separation? Would it not be better to just have another functioning “Frankenstein unit” rather than a $150 electronic paper weight? )
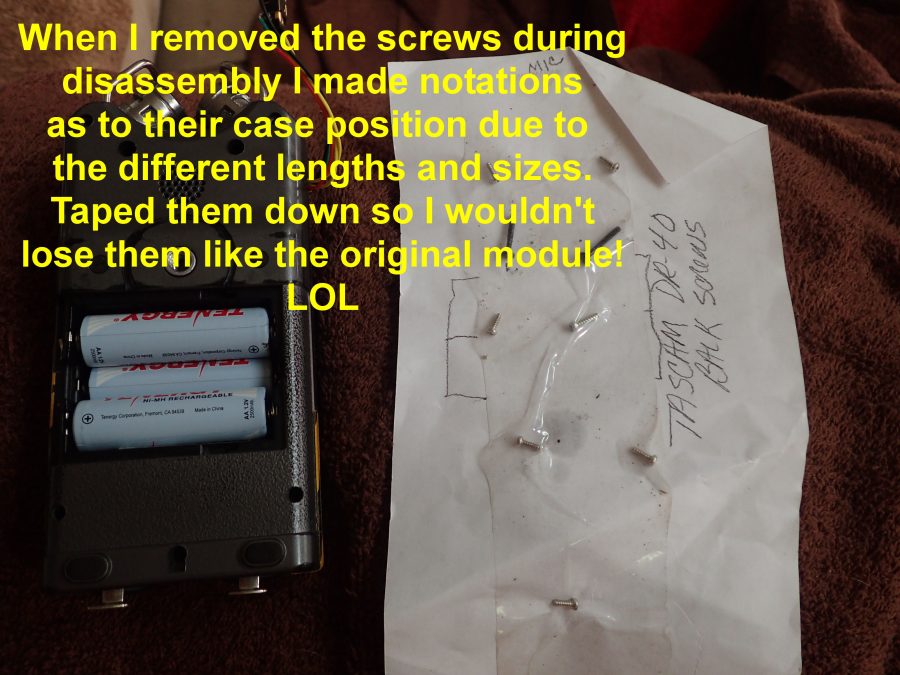
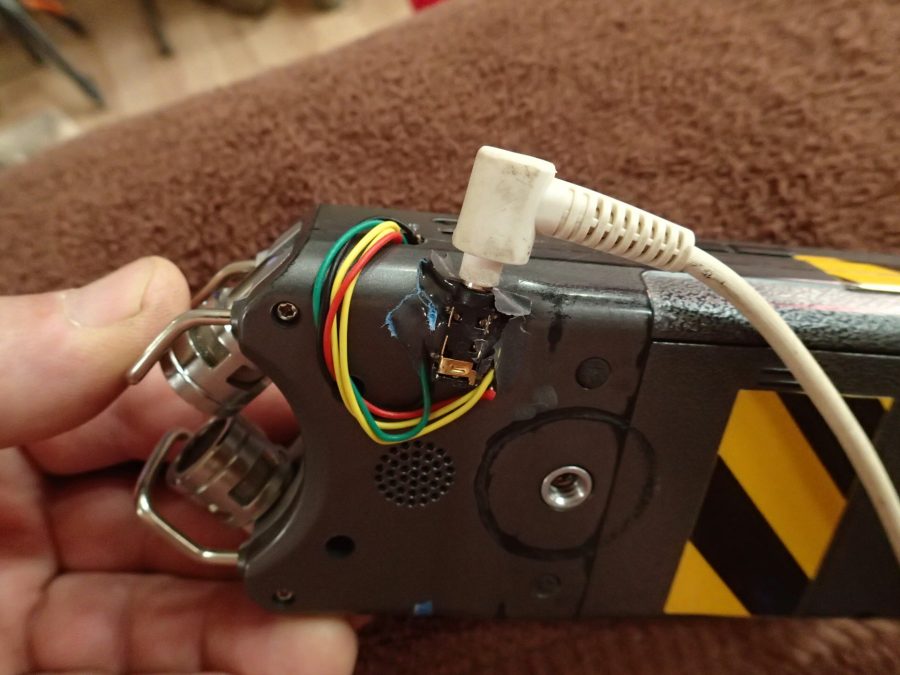
DIGITAL RECORDER LINEUP
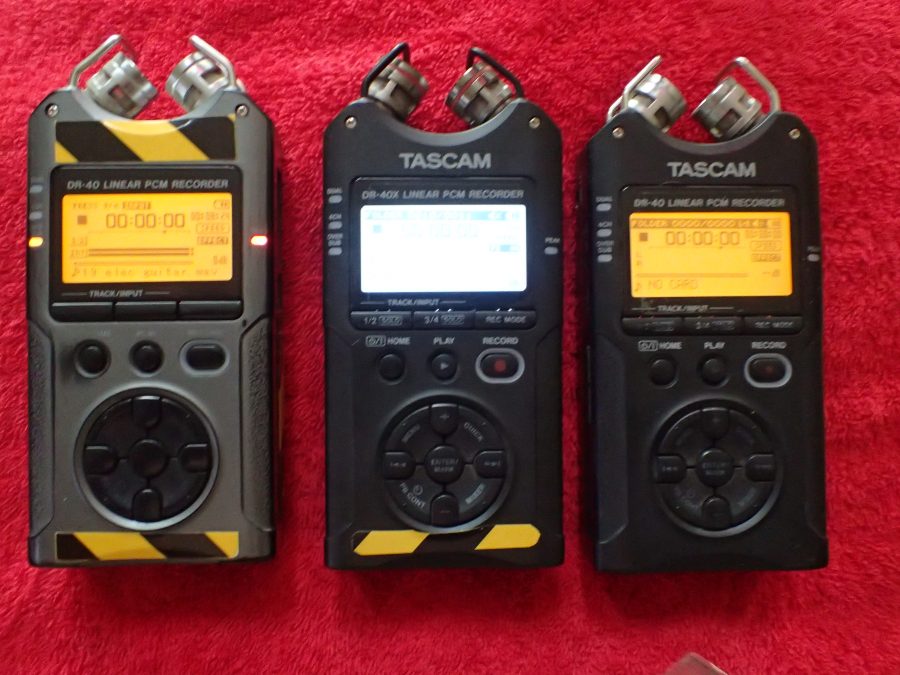
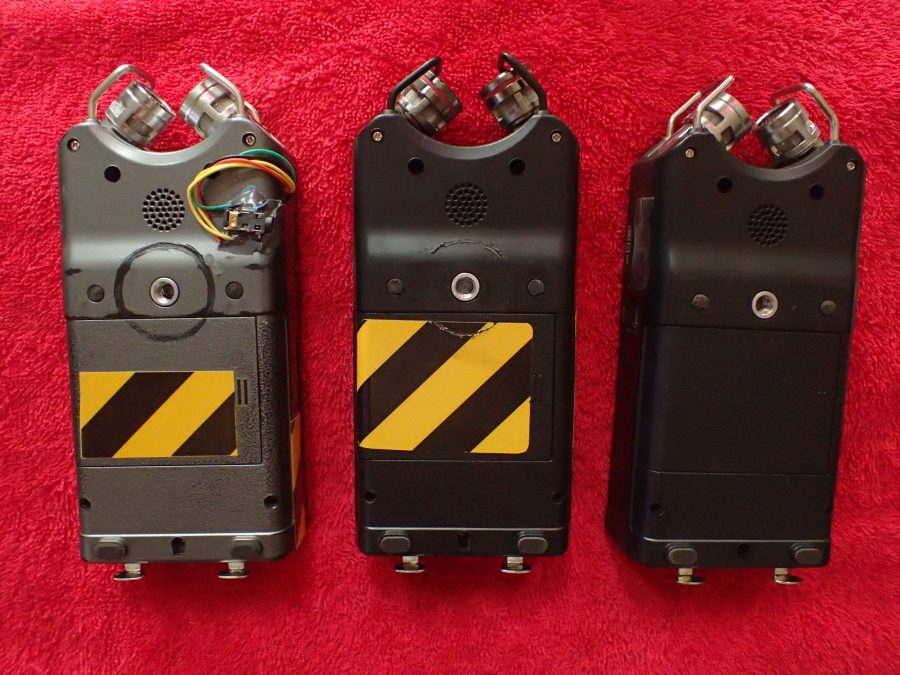
ABOVE (L to R): Repaired Frankenstein original, current functioning unit, and #3 the next “digital victim patient”
ACTUALLY RATHER FUN
Discovered another aspect to this soldering work that is rather fun – project kits made up of a bunch of electronic components you solder on a circuit board for practice. The final product can be a toy or functioning clock, etc. I believe the one I ordered just has a bunch of LEDS flashing in a preset synchronized pattern, but I really won’t know until it is completed as the included instructions are sketchy. (Maybe it is a hypnotizing light show unit that programs participating customers into purchasing the more challenging and difficult kits like the DIY thermonuclear home security system? lol)
Below are some photos of this hobby project that will undoubtedly improve my soldering skills. (Once all my hand wrinkles return) Can’t expect to get better without practice, right? If someone told me I’d be doing this sort of stuff for fun a couple of months ago I would have suggested they stop using hallucinogens. Resistors, capacitors, LEDs, Triodes, Diodes, blah, blah, blah……
I have already learned one extremely important aspect regarding such work…… you can lose small components very easily….already lost two small resistors when they “popped” from the tweezers while I was positioning them for soldering. They are so small and light weight even a small house fan some distance away can blow them into another area of the room. bye bye little resistor! (Imagine a good sneeze on an inventory of small components laid out but not yet soldered?)
BELOW: Laying out some of the component packaging on the practice circuit board.
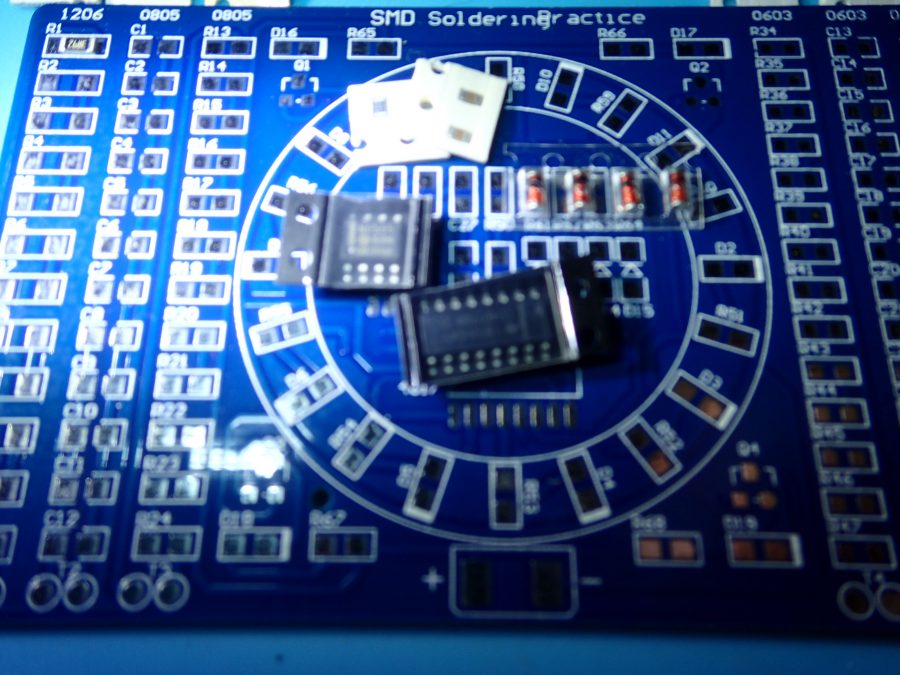
For a better appreciation of how small some of the pieces are check out the following photo:
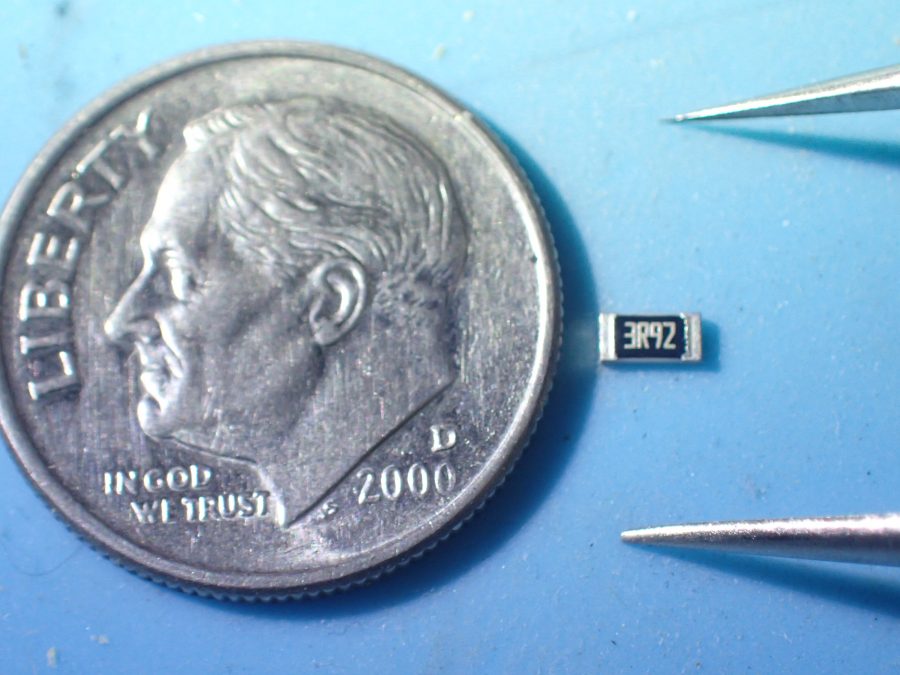
Yup, already have two “3R92s” skidding around the floor somewhere in the great room.
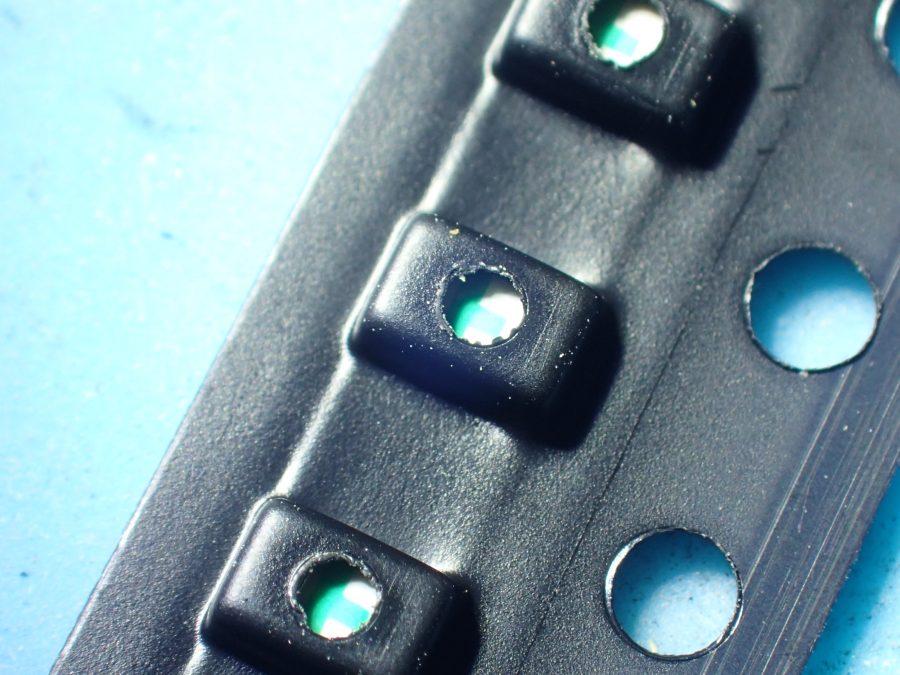
BELOW: Though similar in appearance to the old “cap rolls” we used in toy pistols of the past, each of the strips contain components covered with a plastic film to hold them in place. You must inventory all these first to determine what is what (Resistor vs capacitor) and where it will eventually be placed on the board. The strips are identified by number of components on the strip, ie, 14+1 resistors, 15 +2 capacitors, 4 Triodes, etc.
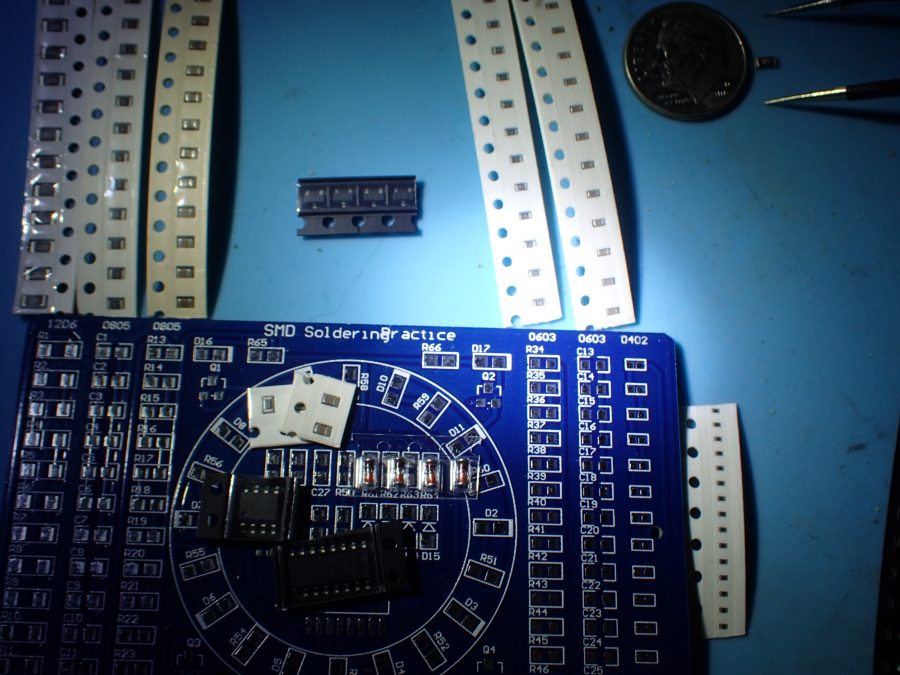
BELOW: LED mini lights
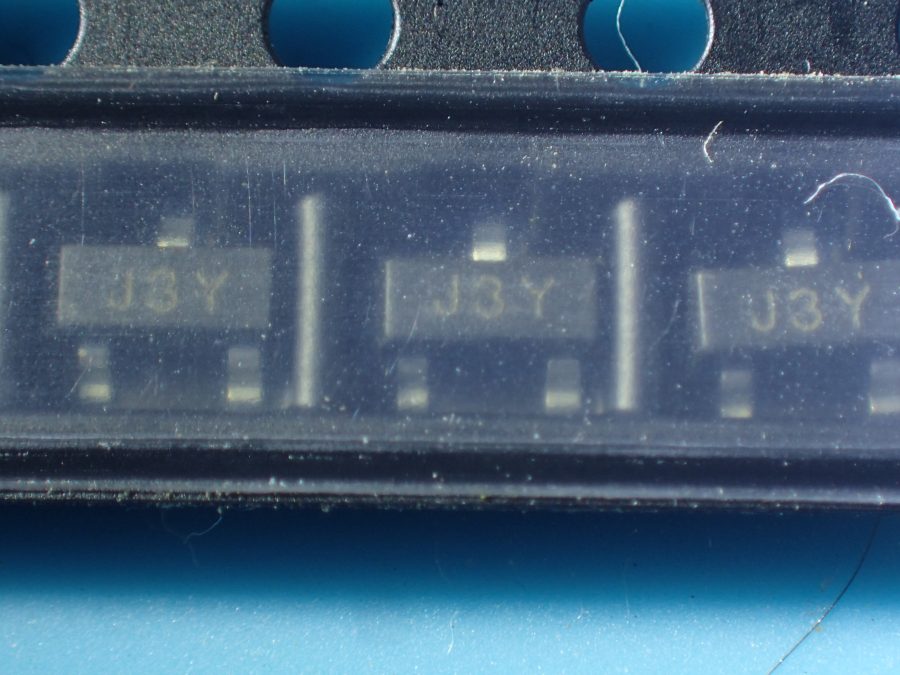
BELOW: Care to guess how many soldering contacts are on a J3Y Triode???
(tick, tick, tick….time is up…….your answer please:)
YES! THERE ARE THREE SOLDERING CONTACTS ON A TRIode. lol
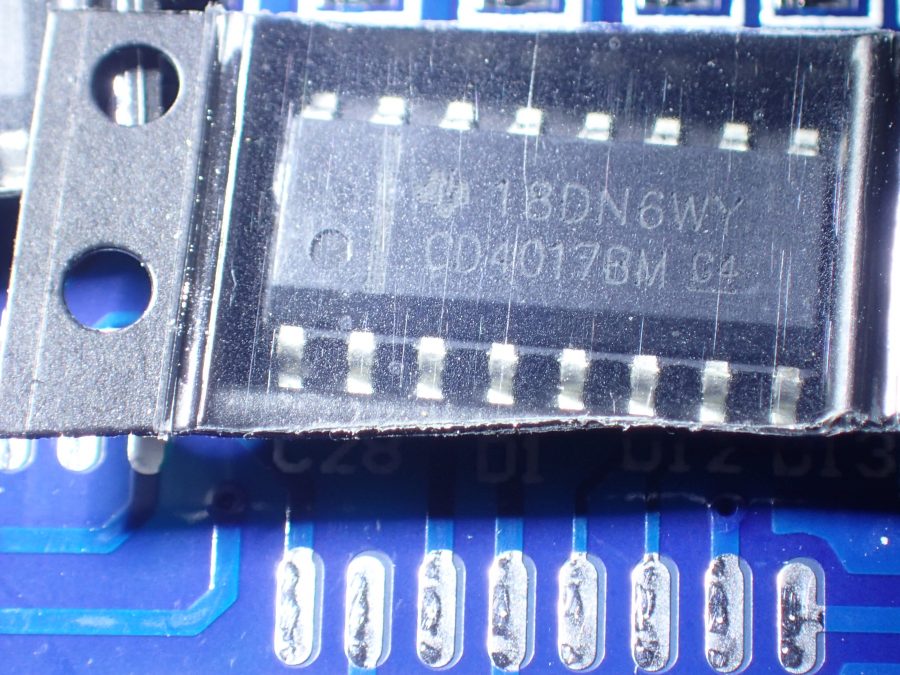
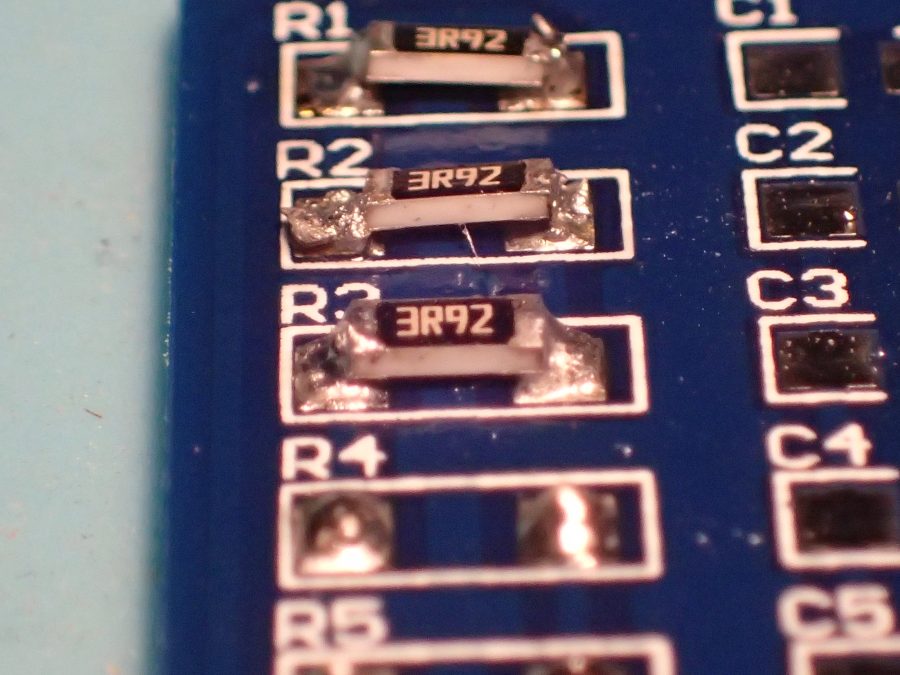
BELOW: My first three attempts at the larger resistor practice …. a bit sloppy but technique will undoubtedly improve with practice. NOTE: “Tinning” is the practice of placing a bit of solder on both contacts (component and board) prior to joining them permanently with solder.
My best to you and yours, Lew


